 ( 01 ) 17-Sept-18
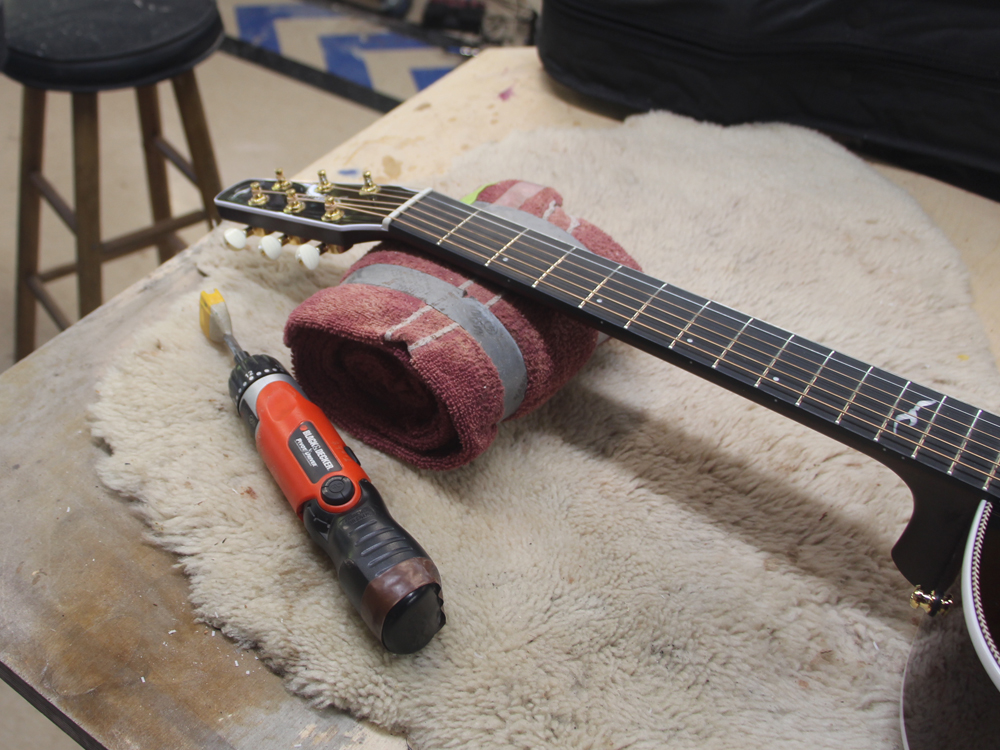
Here we are removing the strings from this brand new Seagull guitar.
( 01 ) 17-Sept-18
Here we are removing the strings from this brand new Seagull guitar.
 ( 02 ) 17-Sept-18
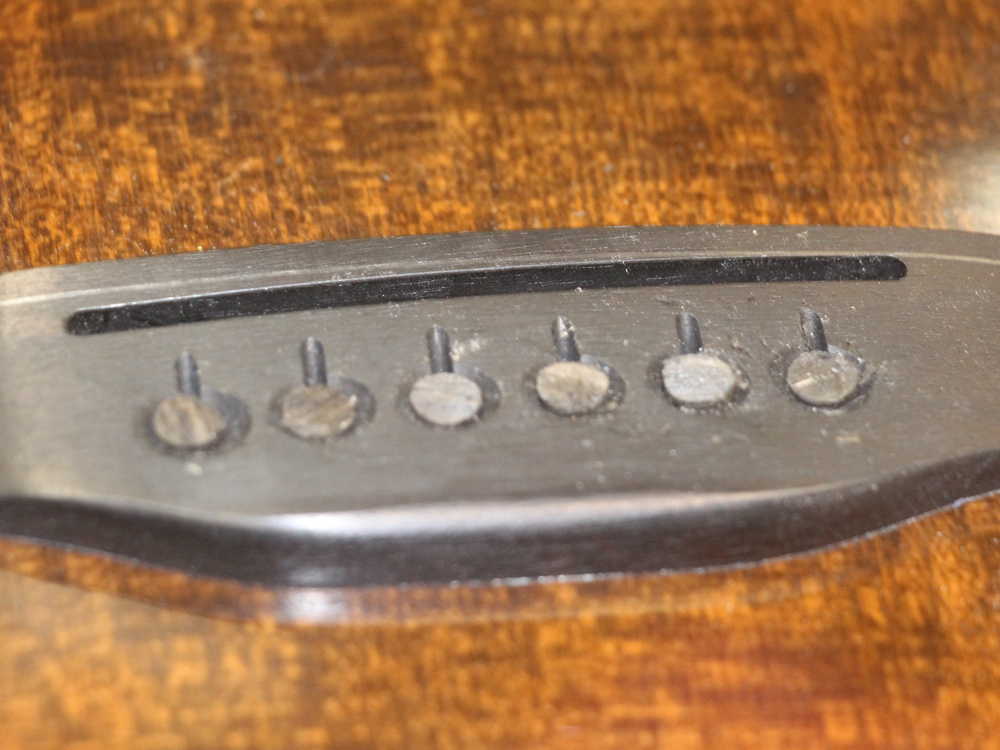
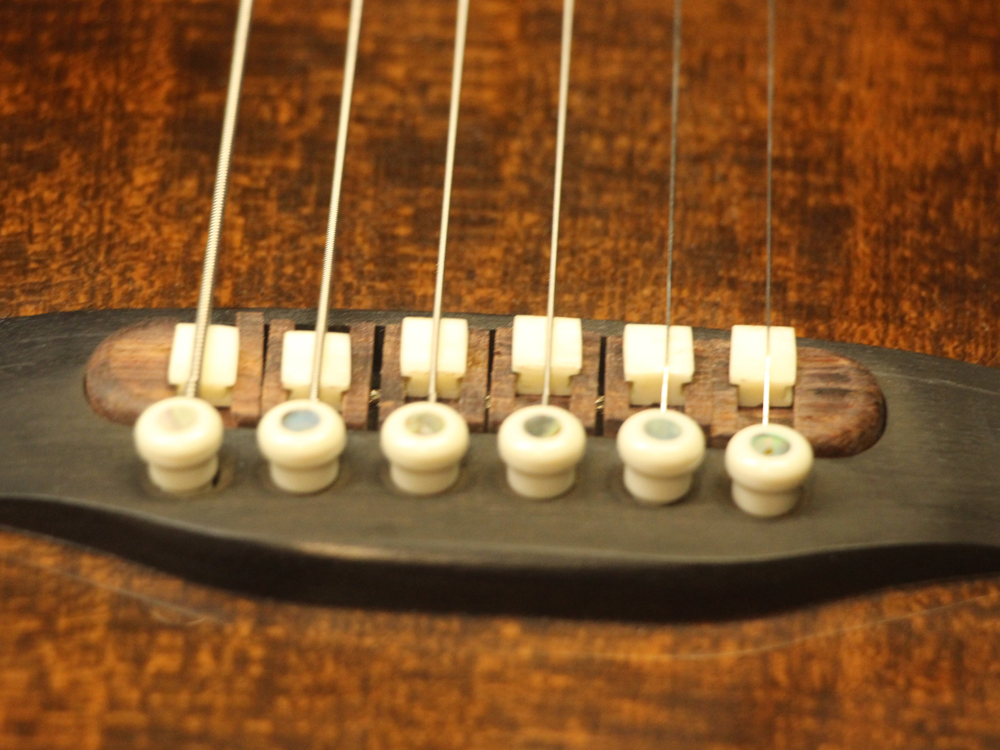
I took the bridge apart to see what we see. This is a standard straight line saddle with a piezoelectric pickup under the saddle.
 ( 03 ) 17-Sept-18
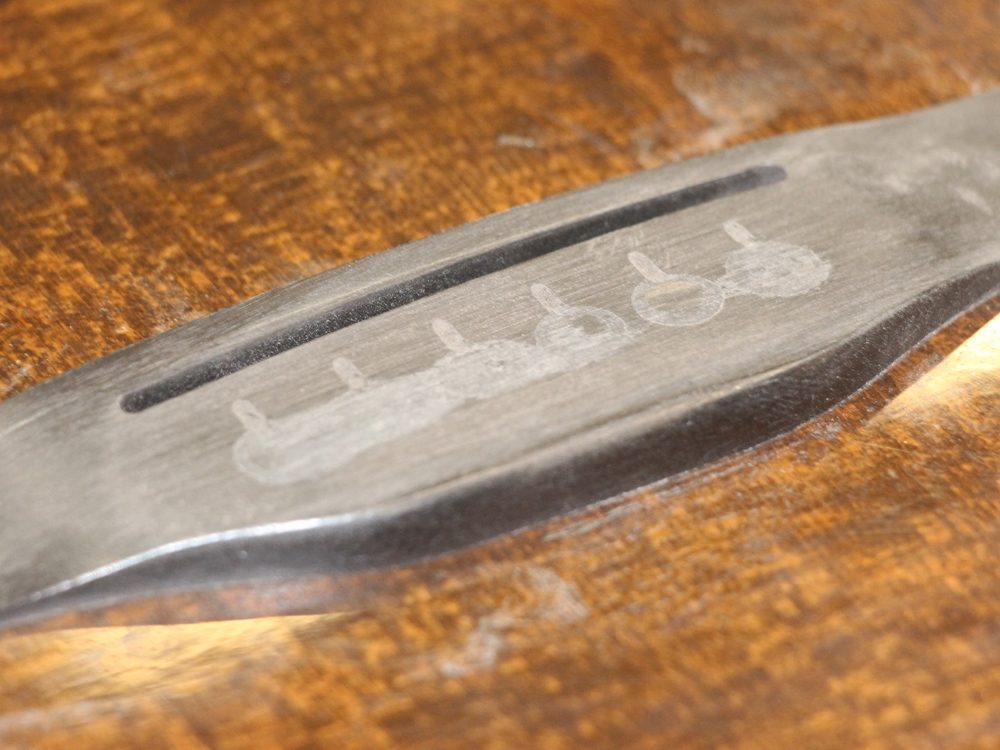
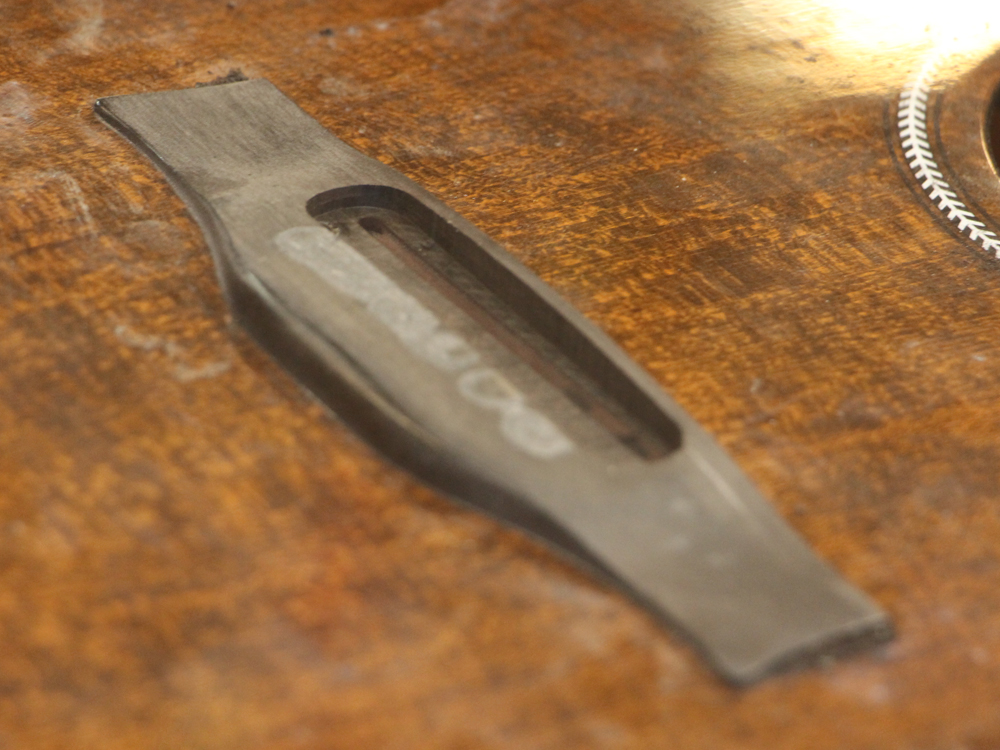
This is what we want the current saddle to look like.
 ( 04 ) 17-Sept-18
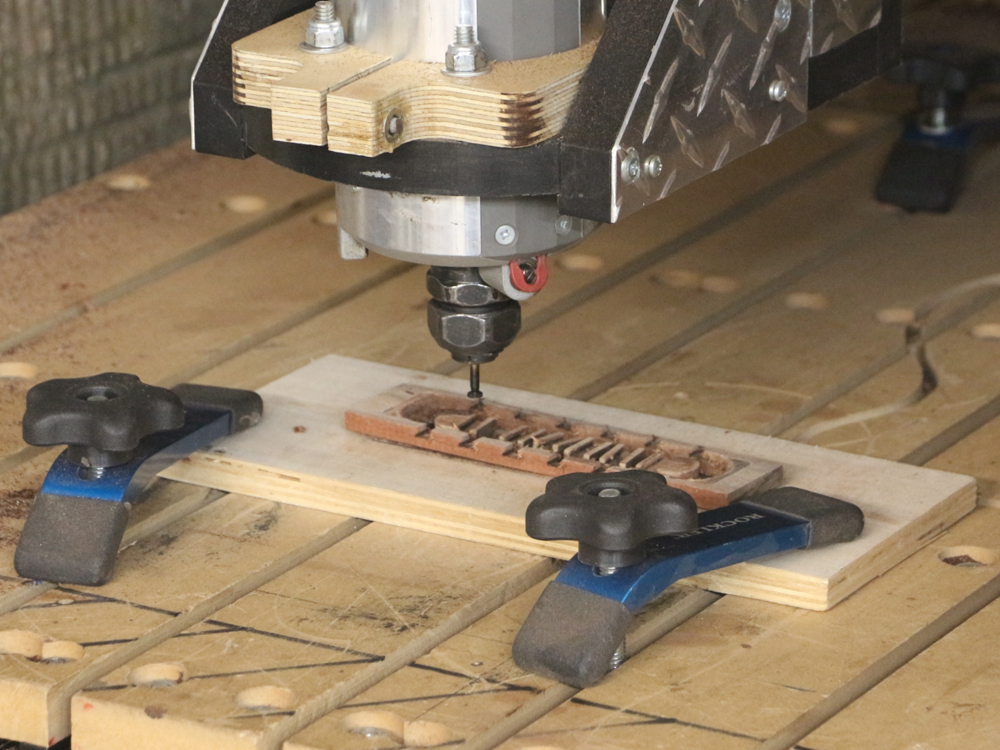
Here I am using the CNC Router to create the individual saddle plates.
 ( 05 ) 17-Sept-18
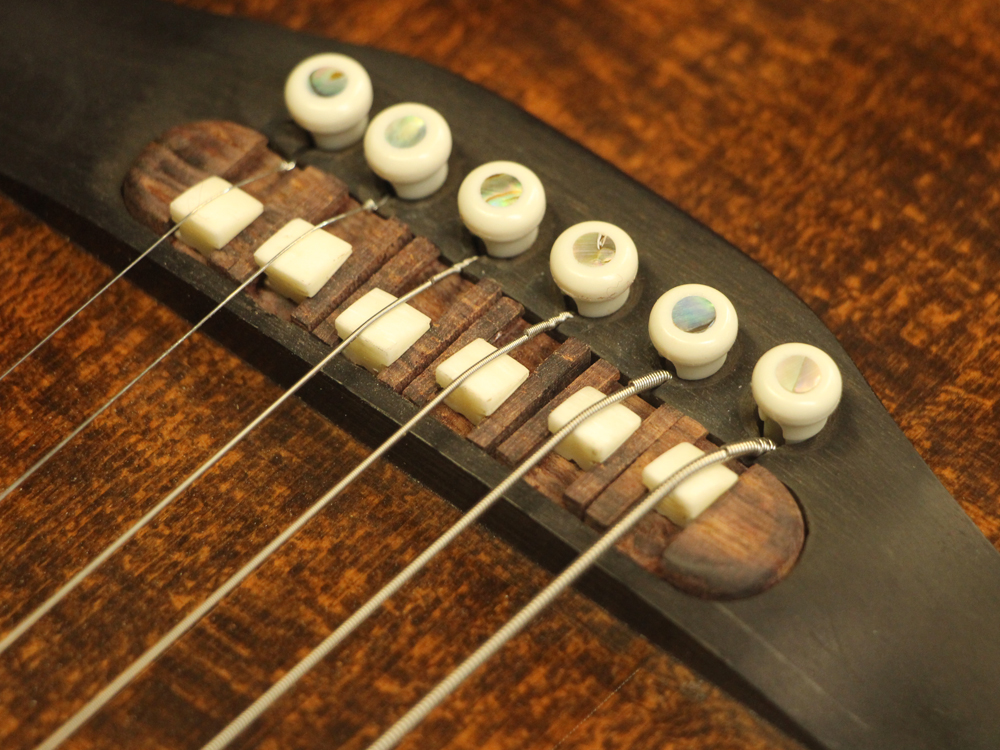
And then making the individual saddles.
 ( 06 ) 17-Sept-18
We put them together.
 ( 07 ) 17-Sept-18
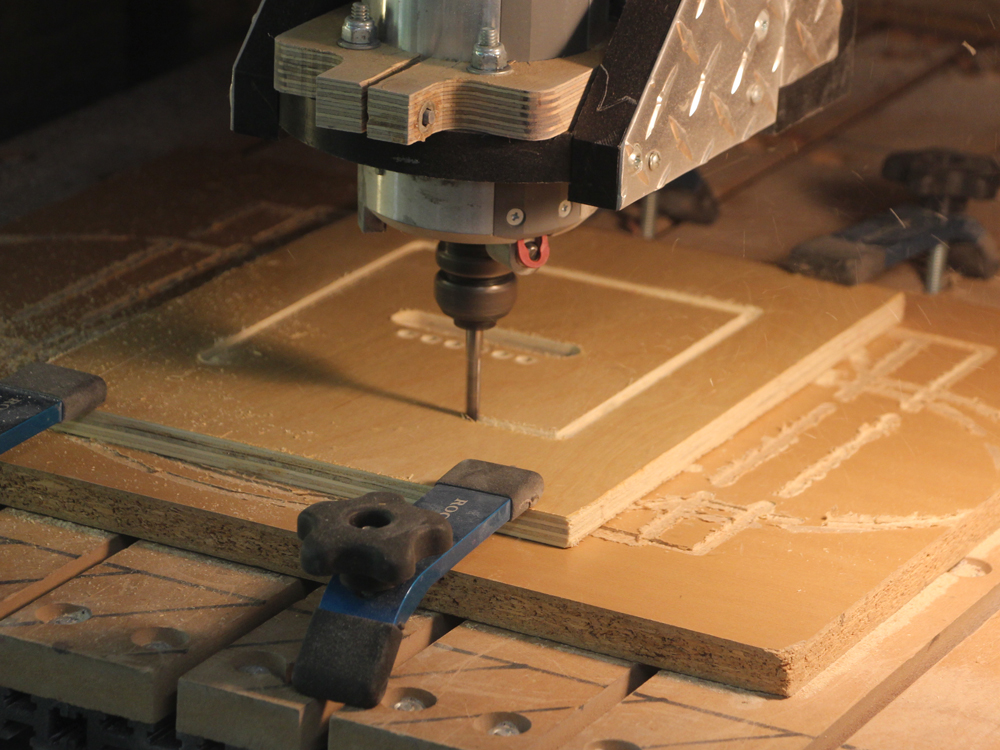
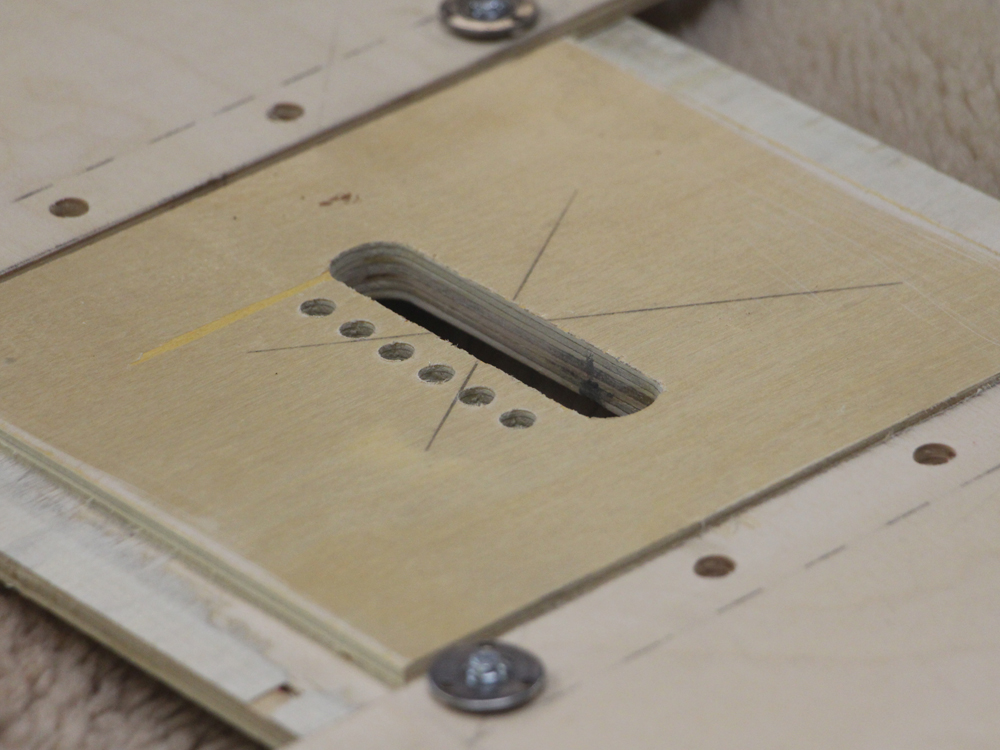
Next I turned my attention to making the template that I will use to guide the router as it cuts the channel in the existing bridge.
 ( 08 ) 17-Sept-18
 ( 09 ) 17-Sept-18
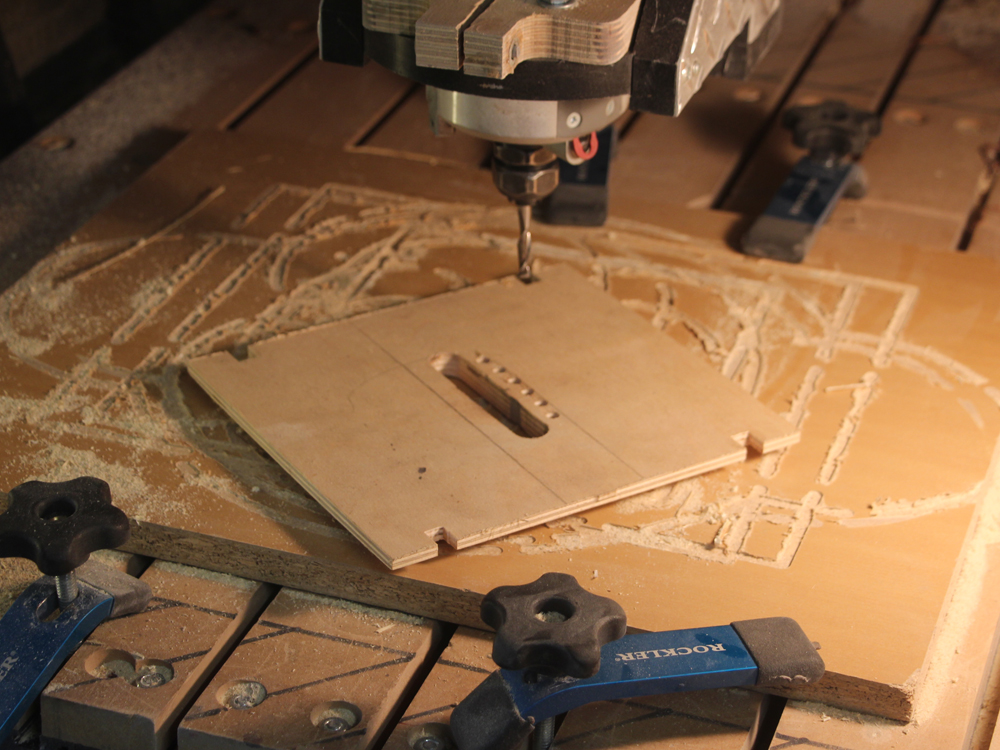
Having learned from experience I make a test cut to make sure everything fits just right.
 ( 10 ) 17-Sept-18
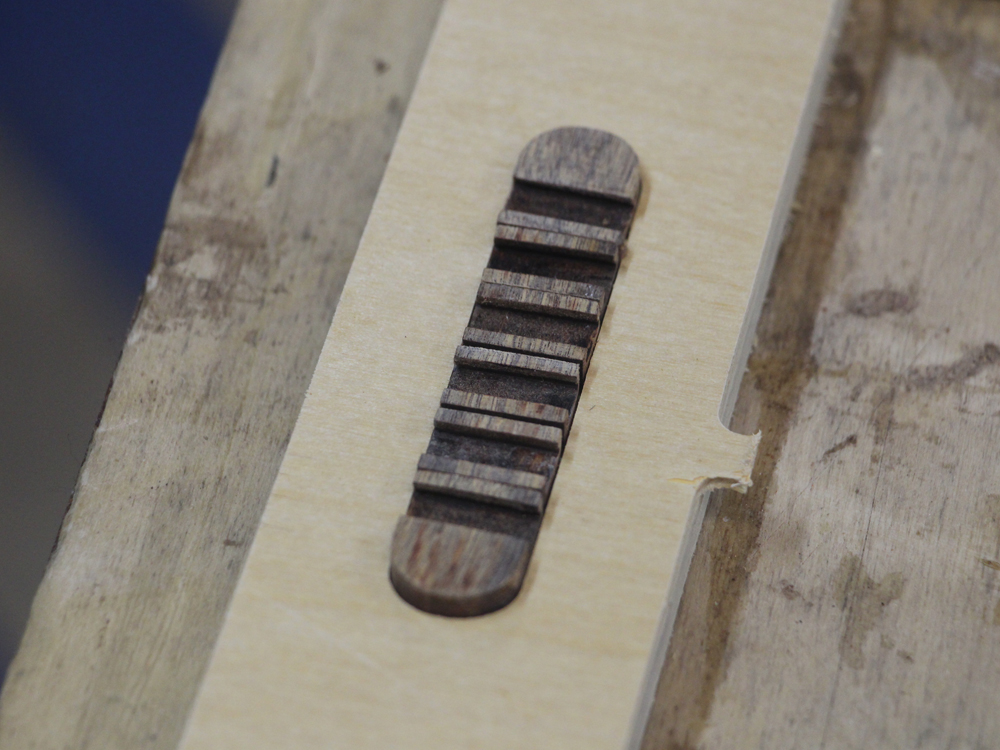
The test channel with the individual saddles.
 ( 11 ) 17-Sept-18
A good fit.
 ( 12 ) 17-Sept-18
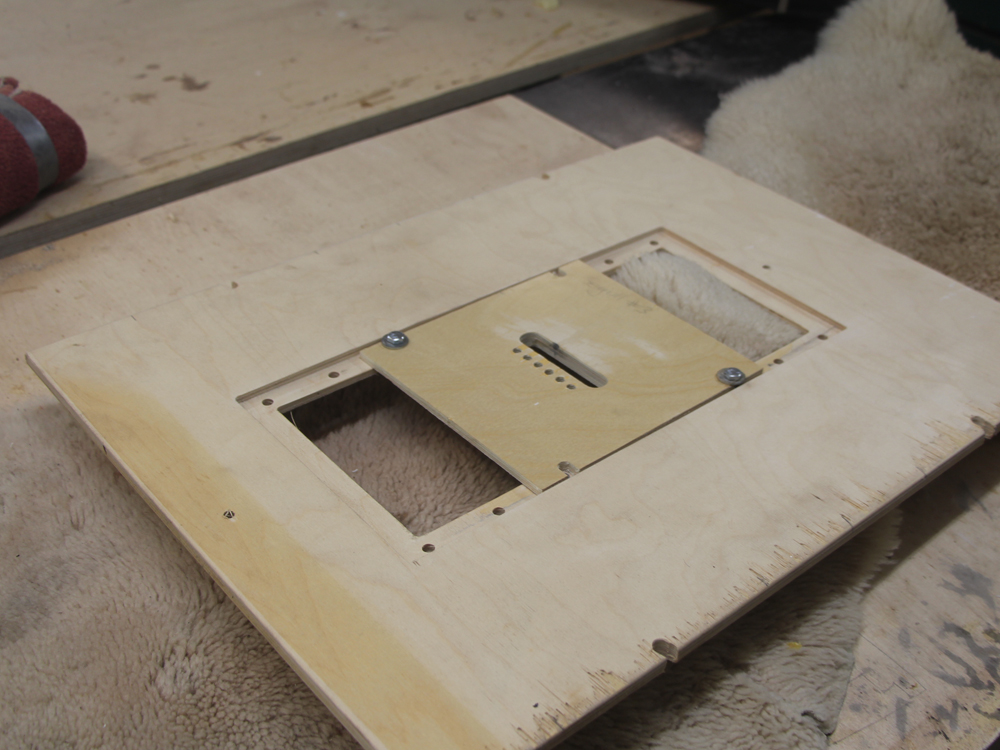
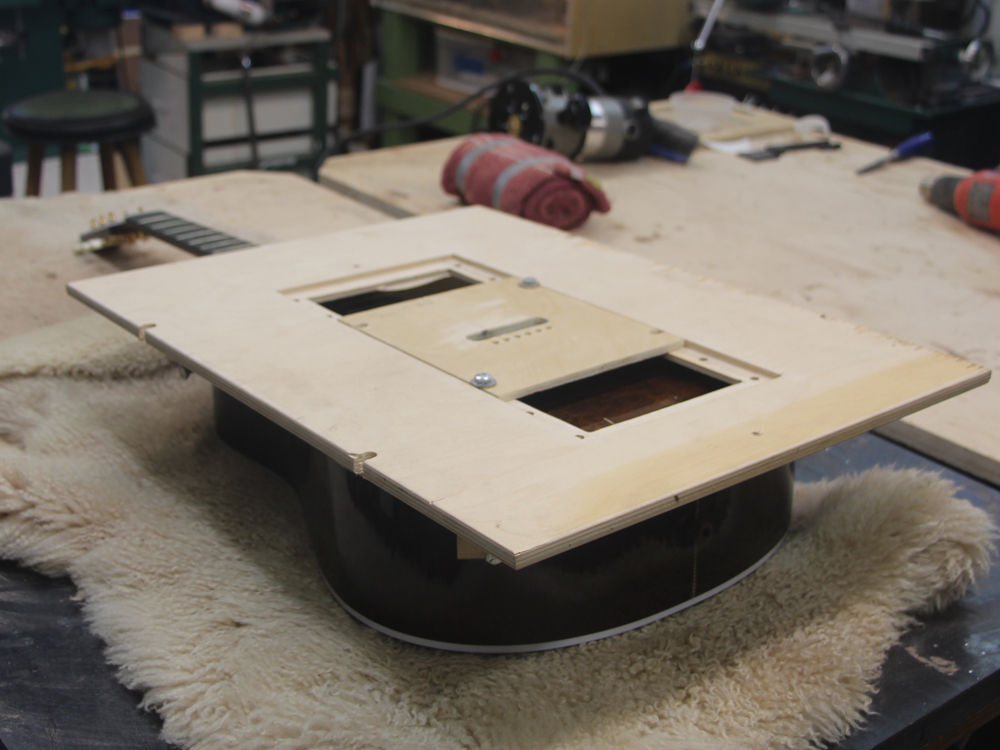
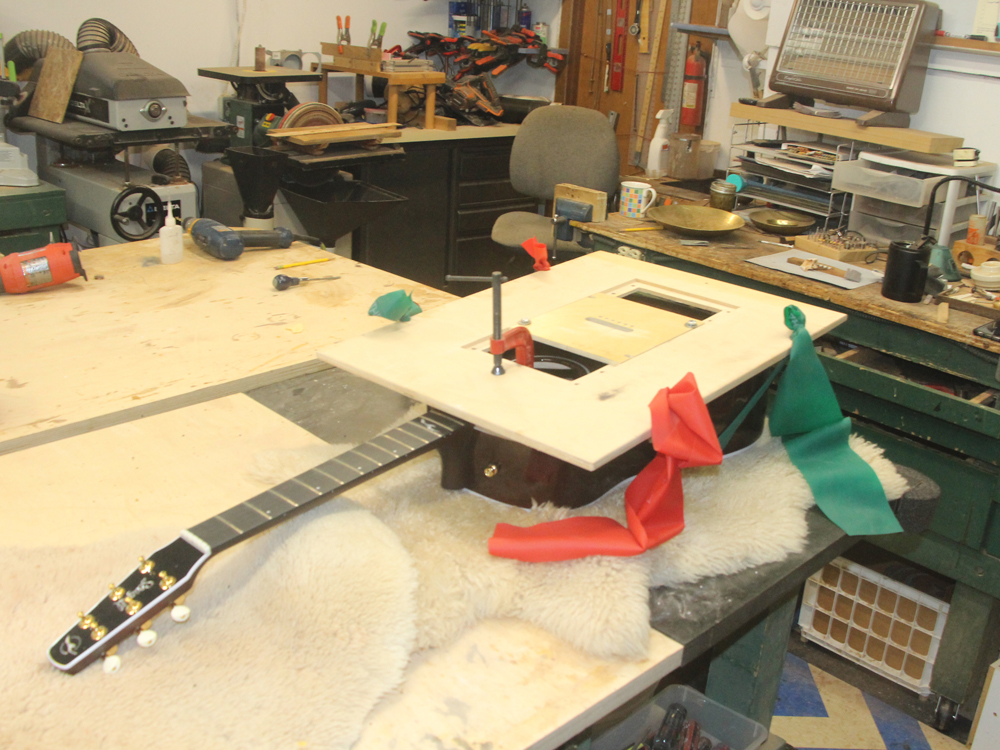
I will use the template in this general purpose fixture that suspends the template over the existing bridge. Once I am confident I have it in the right place...
 ( 13 ) 19-Sept-18
This is the hardware that centers the fixture.
 ( 14 ) 19-Sept-18
The insert.
 ( 15 ) 19-Sept-18
 ( 16 ) 19-Sept-18
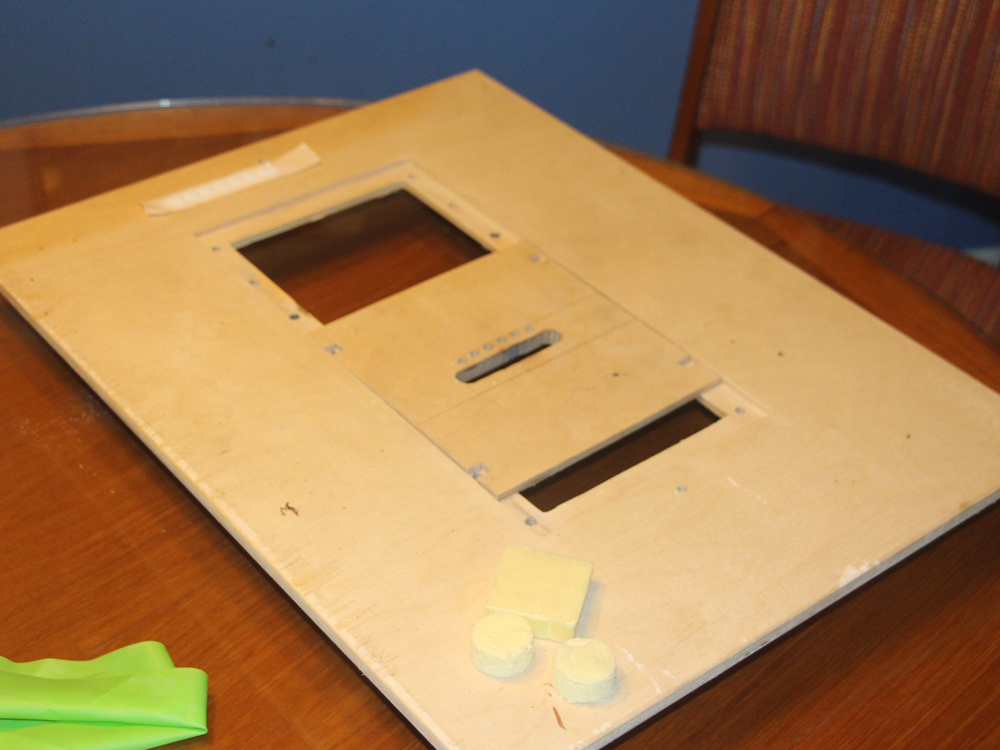
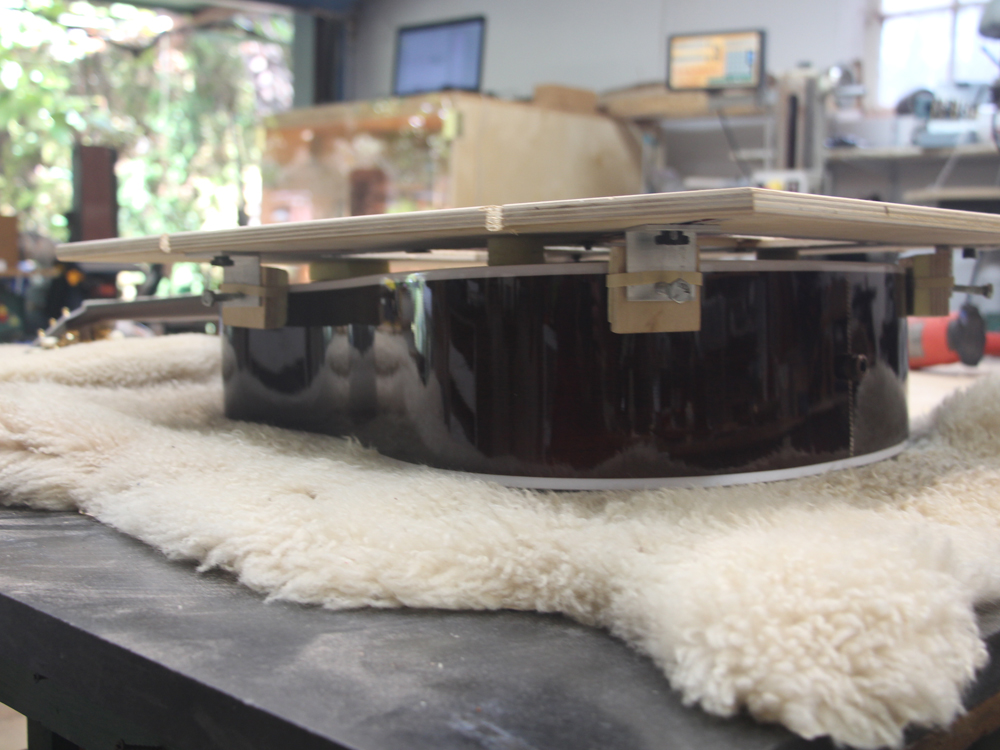
Three stiff cushions to support the fixture without damaging the finish.
 ( 17 ) 19-Sept-18
Fixture in place.
 ( 18 ) 19-Sept-18
 ( 19 ) 19-Sept-18
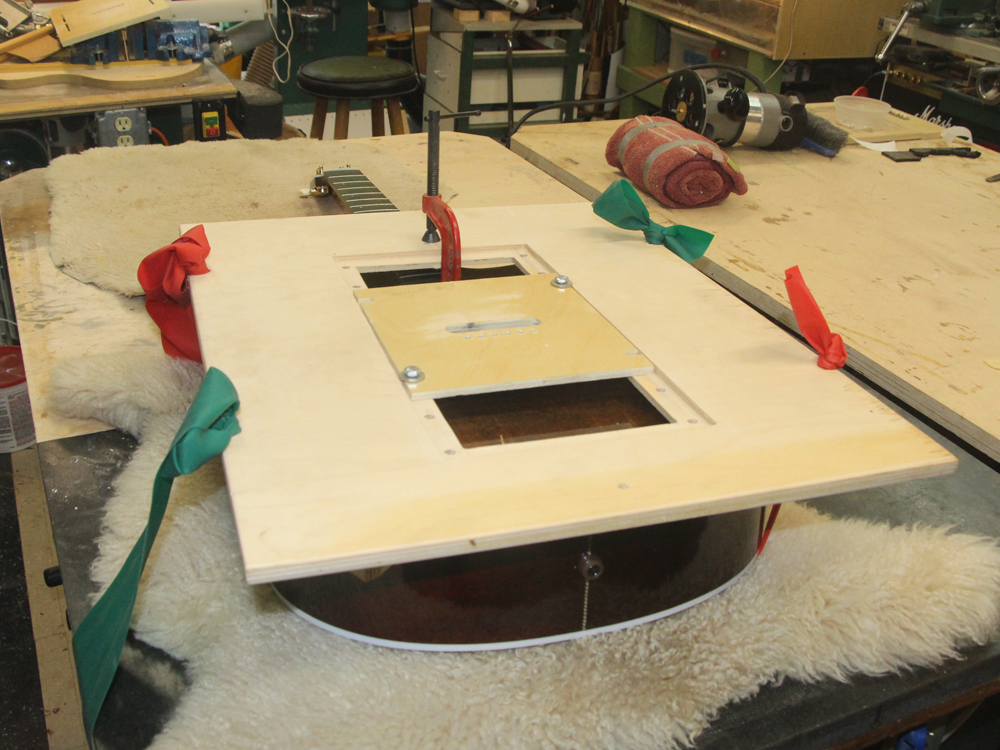
Exercise bands to secure the fixture.
 ( 20 ) 19-Sept-18
.
 ( 21 ) 19-Sept-18
And a C-clamp for good measure.
 ( 22 ) 19-Sept-18
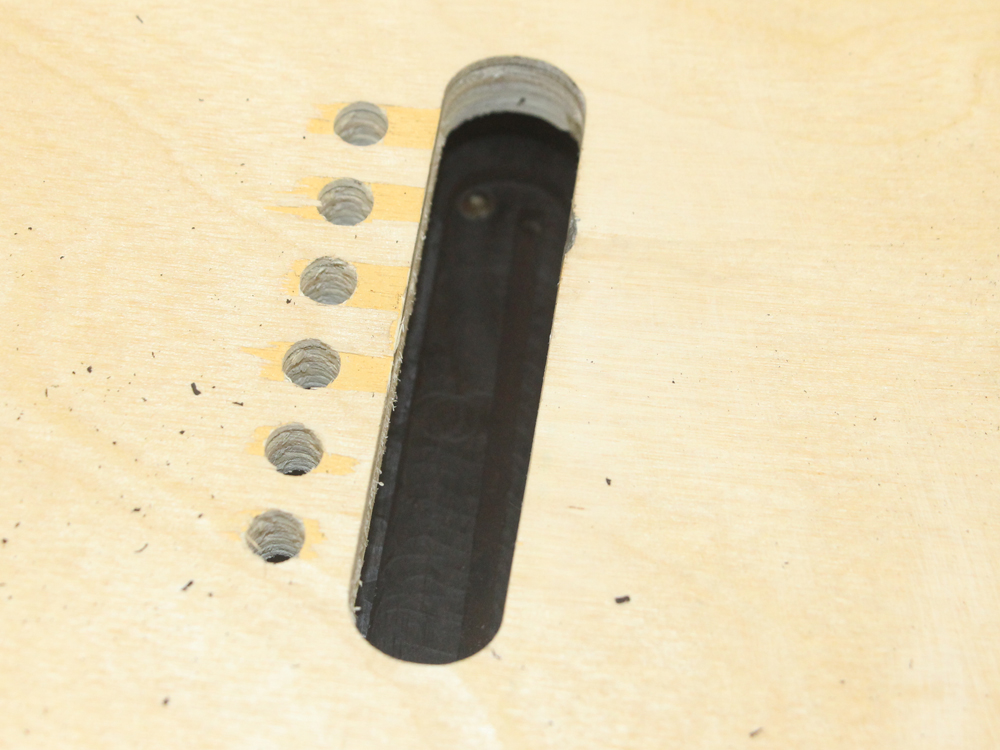
I drill out the pin holes to a standard size...
 ( 23 ) 19-Sept-18
and fit ebony plugs in the old holes.
 ( 24 ) 19-Sept-18
They get glued in and the gaps filled with ebony dust.
 ( 25 ) 19-Sept-18
Sanded flush.
 ( 26 ) 19-Sept-18
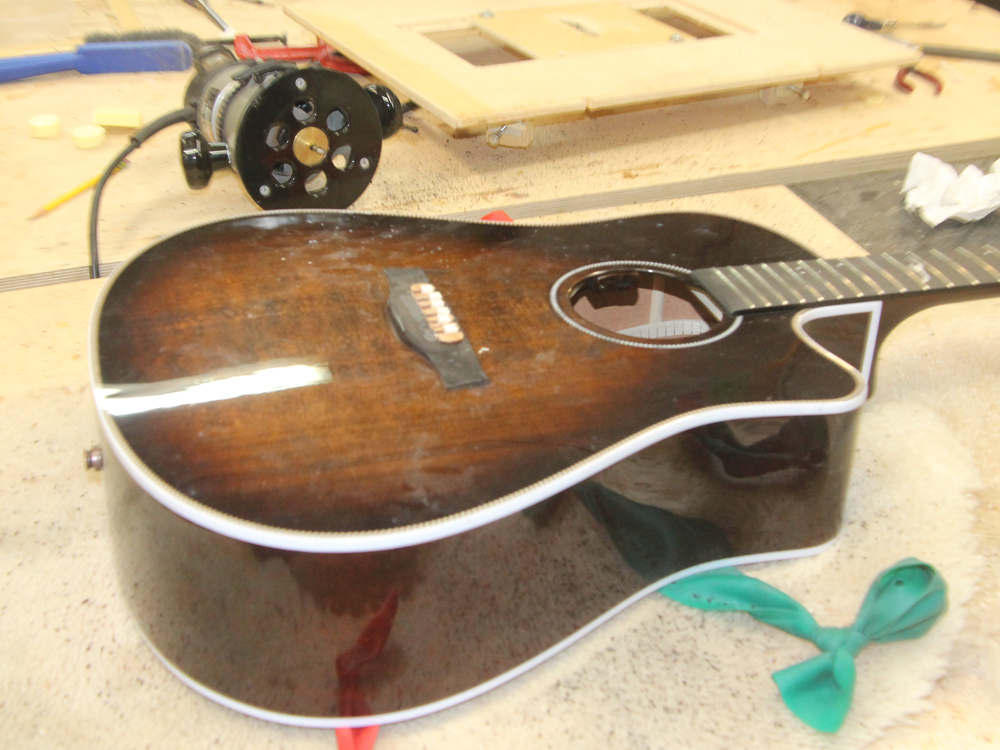
Now everything get put together.
 ( 27 ) 19-Sept-18
I take a deep breath...
 ( 28 ) 19-Sept-18
and cut the new channel.
 ( 29 ) 19-Sept-18
 ( 30 ) 19-Sept-18
 ( 31 ) 19-Sept-18
 ( 32 ) 19-Sept-18
Success!
 ( 33 ) 21-Sept-2018
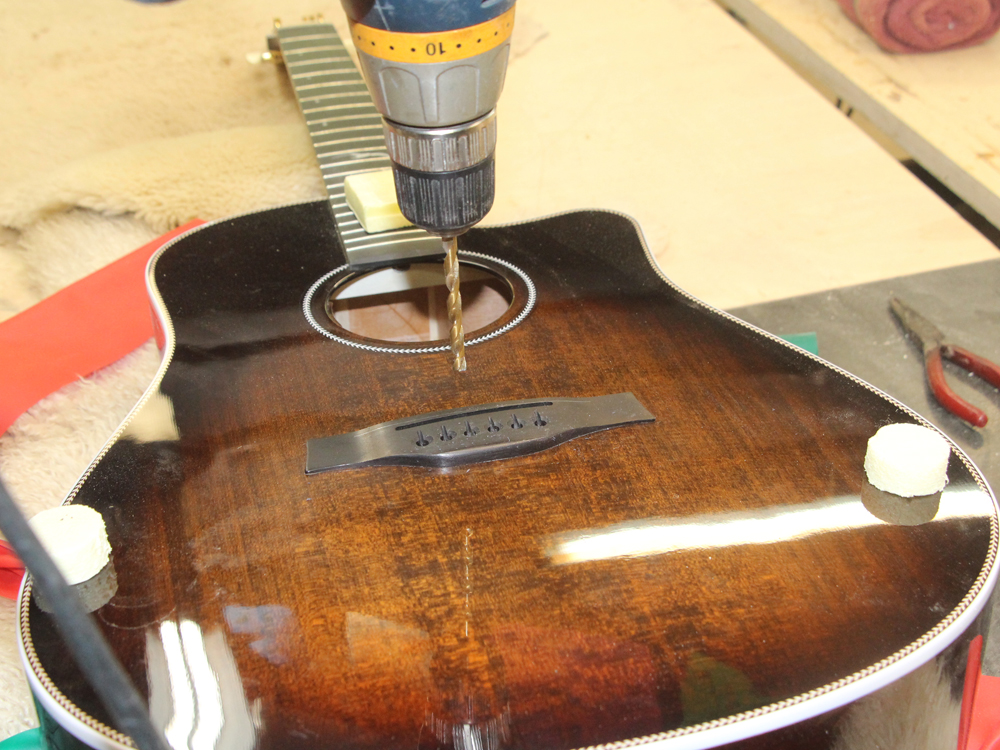
The drill again... for the bridge pins.
 ( 34 ) 21-Sept-2018
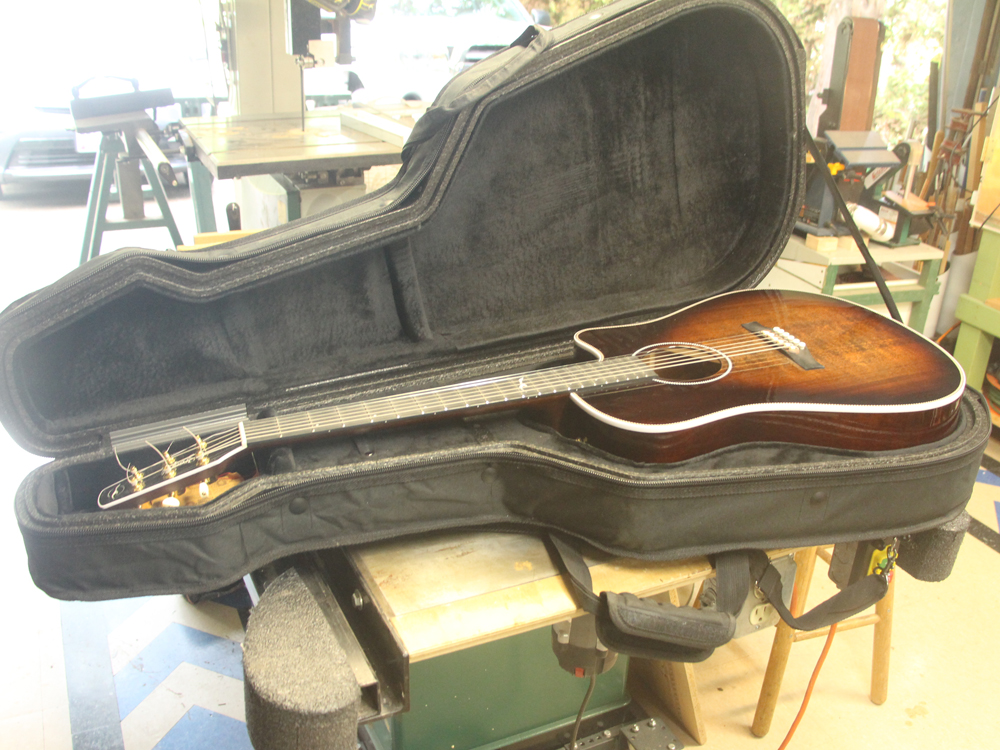
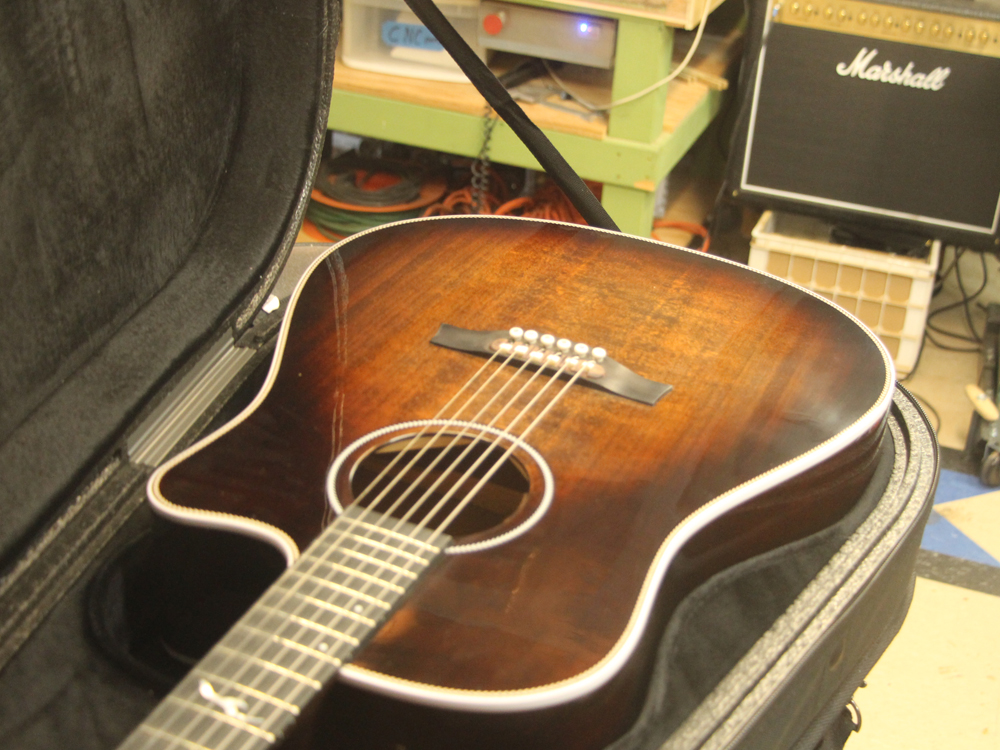
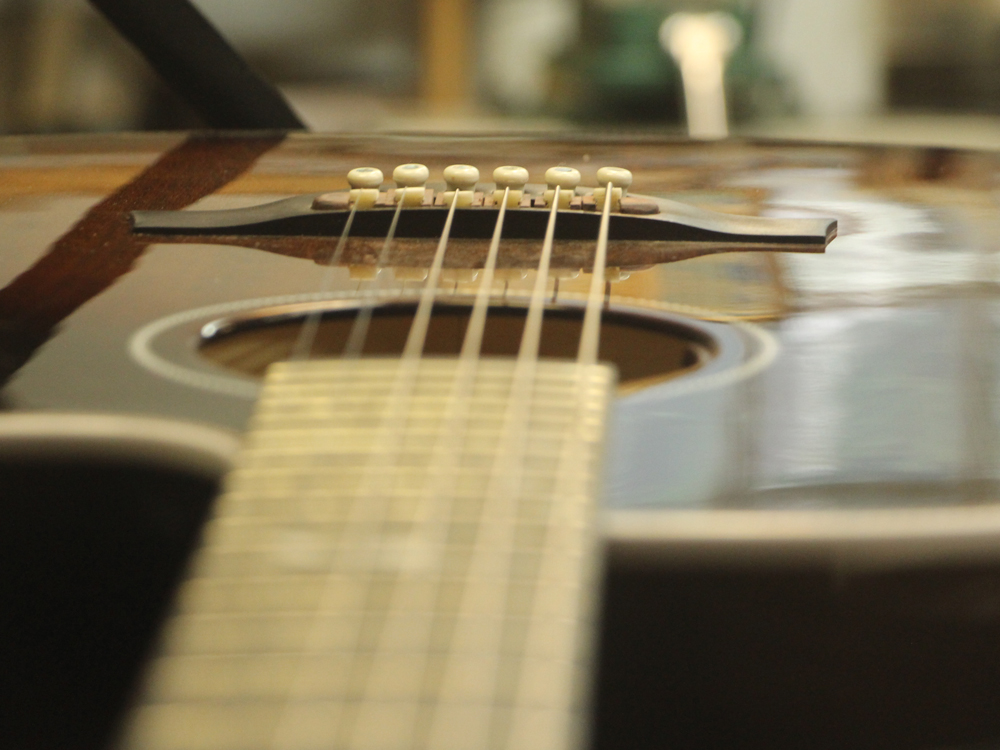
After a bit of concentrated setup the guitar is finished.
 ( 35 ) 21-Sept-2018
 ( 36 ) 21-Sept-2018
 ( 37 ) 21-Sept-2018
 ( 38 ) 21-Sept-2018
 ( 39 ) 21-Sept-2018